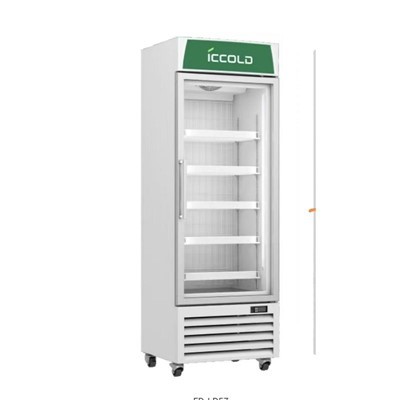
Leveling a glass door display cooler is crucial for its proper functioning and longevity. As a supplier of Glass Door Display Cooler, I've seen firsthand the impact of an unlevel cooler on performance and durability. In this blog, I'll share some tips on how to level your glass door display cooler effectively.
Why Leveling is Important
First off, let's talk about why leveling is so important. When a cooler isn't level, it can cause a whole bunch of problems. For starters, the door might not close properly. This means cold air can escape, making the cooler work harder to maintain the right temperature. That not only wastes energy but can also lead to higher electricity bills.
An unlevel cooler can also put extra stress on the compressor and other components. Over time, this can cause premature wear and tear, leading to costly repairs or even the need to replace the cooler altogether. So, taking the time to level your cooler is definitely worth it in the long run.
Tools You'll Need
Before you start leveling your glass door display cooler, you'll need a few tools. Here's what you'll need:
- A spirit level: This is essential for checking the level of the cooler. You can pick one up at any hardware store for a few bucks.
- Adjustable wrenches: You'll need these to adjust the leveling feet on the cooler.
- A piece of wood or cardboard: This can be used to shim the cooler if necessary.
Step-by-Step Guide to Leveling
Now that you have your tools, let's get started on leveling your cooler. Here's a step-by-step guide:
- Find a Suitable Location: First, find a flat and stable surface for your cooler. Avoid placing it on uneven floors or near sources of heat or vibration. Make sure there's enough space around the cooler for proper ventilation.
- Check the Level: Place the spirit level on top of the cooler and check if it's level from front to back and side to side. If the bubble in the level isn't centered, the cooler is not level.
- Adjust the Leveling Feet: Most glass door display coolers have adjustable leveling feet. Use the adjustable wrenches to turn the feet clockwise to raise the cooler or counterclockwise to lower it. Make small adjustments and check the level frequently until the cooler is level.
- Shim if Necessary: If the floor is extremely uneven, you may need to shim the cooler. Place a piece of wood or cardboard under the feet of the cooler to raise it to the correct level. Make sure the shims are stable and won't shift.
- Check the Door: Once the cooler is level, check the door to make sure it closes properly. If the door is still not closing correctly, you may need to adjust the hinges or the door alignment.
Common Mistakes to Avoid
When leveling your glass door display cooler, there are a few common mistakes you should avoid:
- Not Checking the Level Regularly: It's important to check the level of your cooler regularly, especially if it's been moved or if the floor has settled. A small change in the level can cause big problems over time.
- Over-Tightening the Leveling Feet: When adjusting the leveling feet, be careful not to over-tighten them. This can cause the feet to damage the floor or the cooler itself.
- Ignoring the Door Alignment: If the door is not closing properly, it's important to address the issue right away. Ignoring the problem can lead to further damage and higher energy costs.
Conclusion
Leveling your glass door display cooler is a simple but important task that can save you time, money, and headaches in the long run. By following the steps outlined in this blog, you can ensure that your cooler is level and functioning properly.


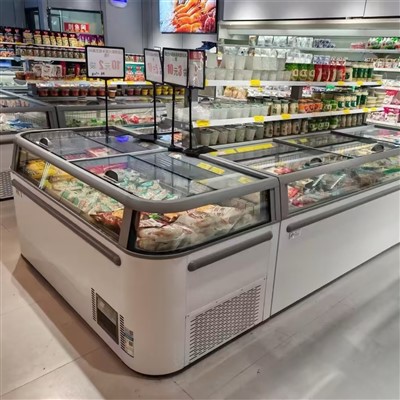
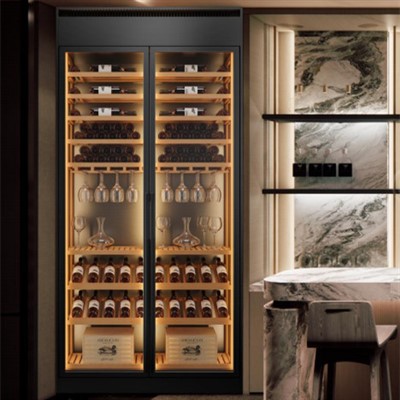
If you're in the market for a new Glass Door Display Cooler, Small Red Wine Fridge, or Fresh Meat Display Case, we've got you covered. Our products are designed to meet the highest standards of quality and performance. If you have any questions or would like to discuss your specific needs, feel free to reach out to us. We're here to help you find the perfect solution for your business.
References
- Manufacturer's manual for glass door display coolers
- Industry best practices for cooler installation and maintenance