
Hey there! I'm a supplier of stackable refrigerators, and I often get asked about how to install these nifty appliances. So, I thought I'd put together this blog post to walk you through the process step by step.
Pre - installation Preparations
Before you even start thinking about installing your stackable refrigerator, there are a few things you need to take care of. First off, find a suitable location. You want a spot that's level, well - ventilated, and away from direct sunlight or heat sources like ovens or radiators. A stable floor is crucial; if the floor isn't level, the refrigerator might not work properly and could even get damaged over time.
Measure the space where you plan to install the refrigerator. Stackable refrigerators come in different sizes, so make sure the area can accommodate both the top and bottom units. You also need to leave some clearance around the sides, back, and top for proper air circulation. Usually, leaving about 2 - 3 inches of space on each side and at the back is a good idea.
Check the electrical requirements. Stackable refrigerators typically need a dedicated electrical outlet. Make sure the outlet is grounded and can handle the power requirements of the fridge. It's always a good idea to have a qualified electrician check the electrical system if you're not sure.
Unpacking the Refrigerator
Once you've got the perfect spot and everything's ready, it's time to unpack the refrigerator. Carefully remove the unit from its packaging, making sure not to damage any of the parts. Check for any visible damage during the unpacking process. If you find any dents, scratches, or broken parts, contact the supplier right away.
Installing the Bottom Unit
The first step in installing the stackable refrigerator is to set up the bottom unit. Roll the bottom unit into the designated space using the wheels (if it has them). Make sure it's centered and level. You can use a bubble level to check if it's perfectly horizontal. If it's not level, adjust the leveling feet at the bottom of the unit until it is.
Connect the electrical cord to the appropriate outlet. Before plugging it in, double - check that the power switch on the refrigerator is in the "off" position. Once it's plugged in, you can turn the power on. But don't start using it just yet; let it run for a little while to stabilize the internal temperature.
Stacking the Top Unit
Now comes the fun part - stacking the top unit on the bottom one. This is a two - person job, so get a friend or family member to help you. Lift the top unit carefully and align it with the bottom unit. There are usually alignment guides or brackets to help you get it in the right position.
Once it's aligned, secure the top unit to the bottom unit using the provided bolts or fasteners. Make sure they're tightened properly, but don't over - tighten them as it could damage the units. After securing the top unit, check again to make sure the whole stack is level.
Connecting the Refrigerant Lines (if applicable)
Some stackable refrigerators require the refrigerant lines to be connected between the top and bottom units. If this is the case for your refrigerator, you'll need to follow the manufacturer's instructions carefully. This is a delicate process, and it's best to have a professional technician do it if you're not experienced with refrigerant systems.
Testing the Refrigerator
After everything is installed, it's time to test the refrigerator. Set the temperature controls to your desired settings. Wait a few hours and check the temperature inside the fridge and freezer compartments. If the temperature is dropping and stabilizing within the appropriate range, then your installation was successful.
Maintenance Tips
To keep your stackable refrigerator running smoothly, it's important to perform regular maintenance. Clean the condenser coils every few months to ensure efficient cooling. You can use a coil brush or a vacuum cleaner to remove dust and debris.

Check the door seals regularly. If they're loose or damaged, the refrigerator will have to work harder to maintain the temperature, which can increase your energy bills. You can replace the door seals if needed.
Related Products
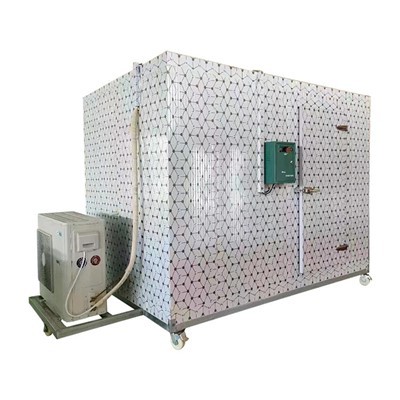
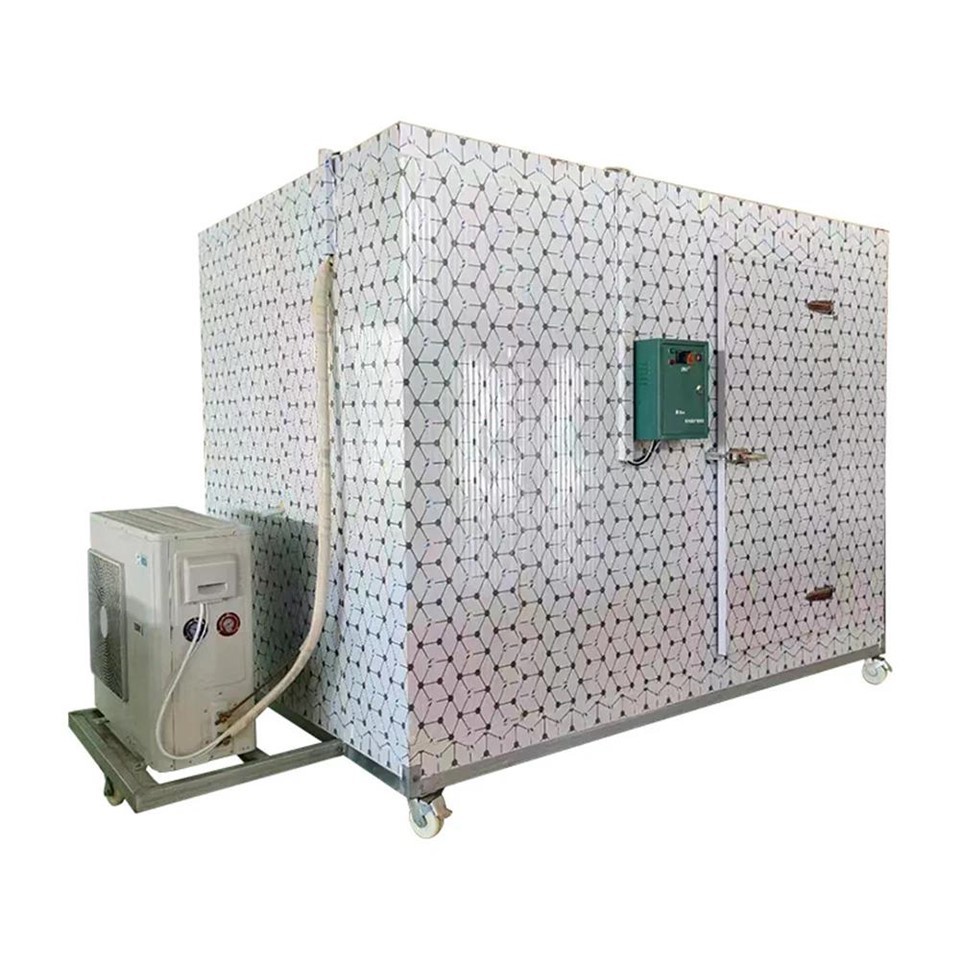
If you're in the market for other refrigeration solutions, we also offer some great products like Low Temperature Cold Storage Warehouse, Air Curtain Display Cooler, and Backstock Walk - In Cooler. These products are designed to meet different refrigeration needs, whether you're running a supermarket, a restaurant, or a small business.
Contact for Purchase
If you're interested in our stackable refrigerators or any of our other products, we'd love to hear from you. Whether you have questions about installation, pricing, or product features, feel free to reach out. We're here to help you make the best choice for your refrigeration needs.
References
- Manufacturer's installation manual for stackable refrigerators
- General knowledge on refrigerator installation and maintenance
So, there you have it - a complete guide on how to install a stackable refrigerator. I hope this helps you get your new fridge up and running without any issues. If you have any more questions, don't hesitate to ask!